


Table of contents
Building a web3 application with React and in need of a trusty IPFS node to store your images and data? Infura's got your back! As a leading IPFS node provider, similar to NTF.storage and web3.storage, Infura offers a convenient and cost-effective solution for your web3 needs.
But wait, there's more! Up until August 2022, connecting to Infura's IPFS node was considered the ultimate cool kid move. Plus, with Infura, you had unlimited storage for free and didn't have to worry about any API keys.
But, like all good things, that era has come to an end. Now, Infura is asking for credit card details to run your IPFS node, and the storage is limited to only 5GB with an API key. But don't let that discourage you! Here's the code to connect with Infura's IPFS node before August 2022:
Old way to connect with ipfs:
import { create, CID, IPFSHTTPClient } from "ipfs-http-client";
ipfs = create({ url: "https://ipfs.infura.io:5001/api/v0", });
cid = await ipfs.add(file);
New Way:
Go to Infura and create ipfs node with your credit card details
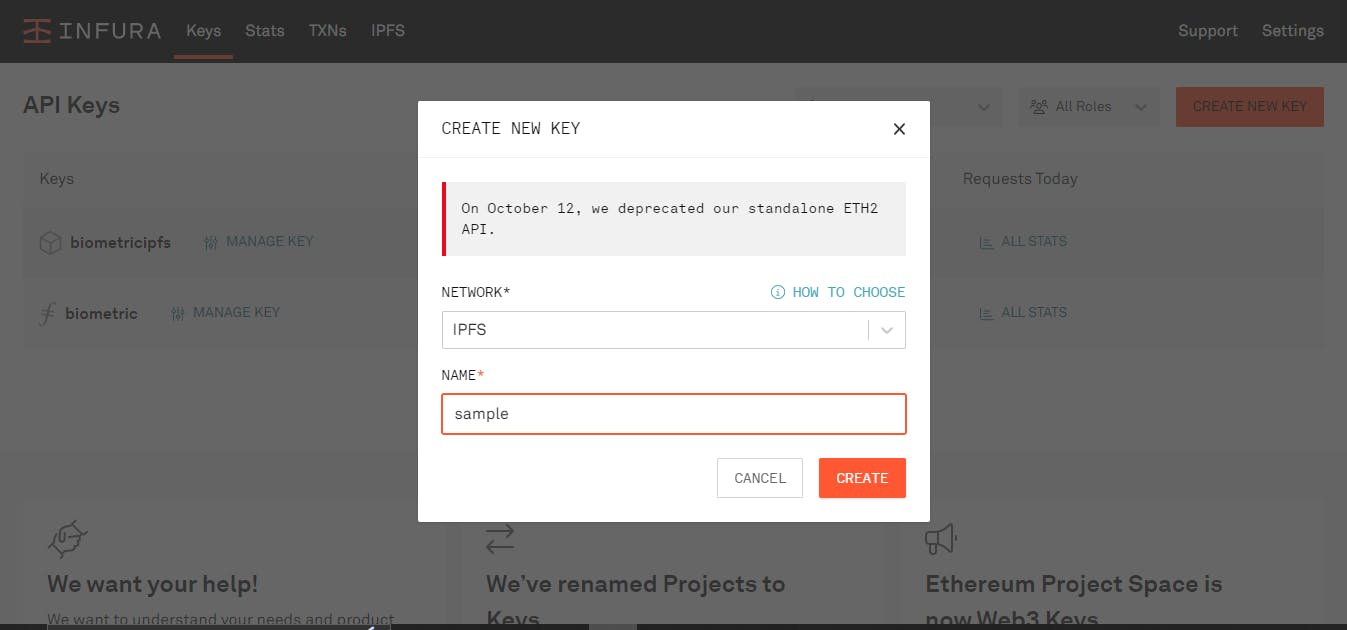
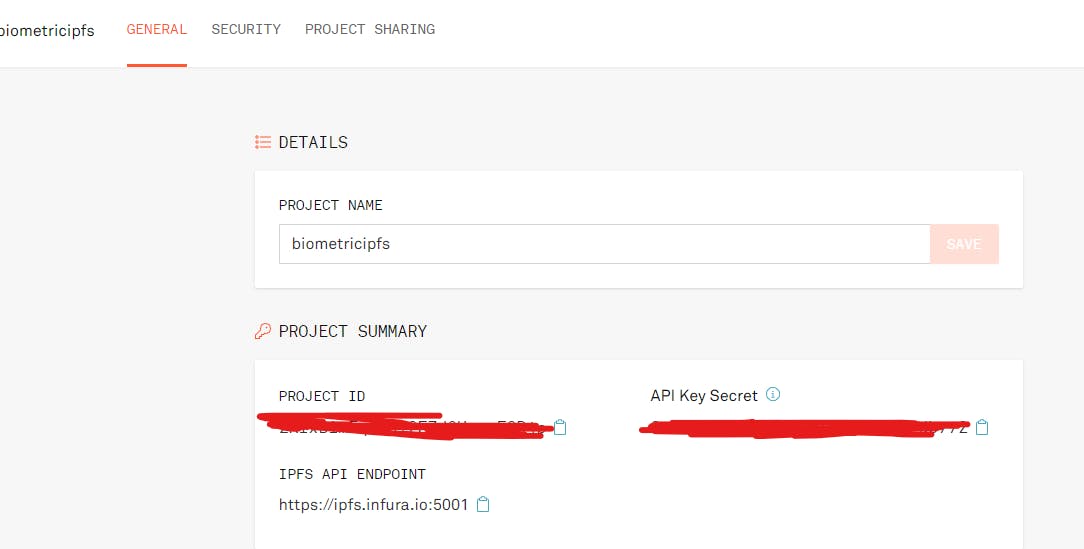
Get API key and project ID
Convert secret keys to base64 format
Goto https://www.base64encode.org/ website and convert your projectId to base64 string and place in BASE64projectID and do the same for apikey
auth = 'Basic '+base64projectId+":"+base64apiKey
auth = 'Basic '+base64projectId+":"+base64apiKey
const client = create({
    host:'ipfs.infura.io',
    port:'5001',
    protocol:'https',
    headers: {
      authorization: auth,
    }})

const {cid} = client.add(files)
So go ahead, get connected with Infura's IPFS node and give your web3 app the storage it deserves.